How to Measure a Room for a Dog Playpen
Plan a playpen footprint without blocking doors, confusing panel length with floor area or overlooking the space needed for everyday access.
Jump to a section
The short answer: measure an operating space
Measure the clear floor area, map the pen’s assembled shape, and reserve the space needed to open doors and reach your dog. A playpen fits only when both its structure and your daily routine fit. The room’s total square footage is less useful than the uninterrupted space available in the intended corner.
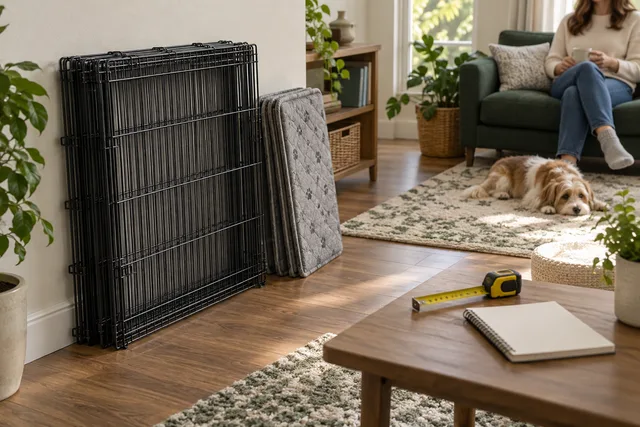
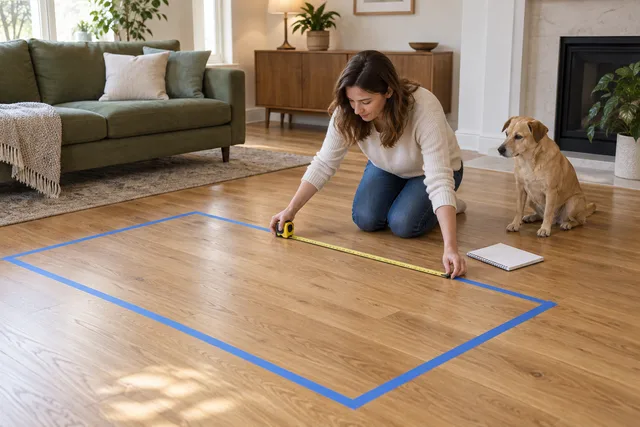
You will need a tape measure, a notebook and a way to mark a temporary outline. Removable tape can work on a compatible floor finish; test it discreetly first. Keep your dog away while measuring and remove loose tape and small supplies before the area is used.
This guide is a room-planning method, not a universal minimum enclosure size or a promise that any dog can be safely contained by a particular height. Follow the chosen pen’s instructions and assess suitability for the individual dog separately.
Step 1: identify the area that is genuinely available
Draw a simple overhead sketch of the room. Mark walls, doorways, fixed cabinets, radiators and furniture that will remain in place. You do not need architectural precision; you need to distinguish empty floor from floor that becomes occupied whenever someone opens a door or pulls out a chair.
Measure between the nearest projecting surfaces, not automatically from wall to wall. A baseboard, cabinet handle or angled furniture leg can reduce the useful width. Record the narrowest relevant point, especially when the enclosure is intended to sit between two existing pieces of furniture.
Write measurements in one unit throughout your first sketch. Mixing feet, inches and centimeters makes a small transcription error much easier to miss. Label every number with its unit and repeat any measurement that would make the difference between a comfortable fit and a squeezed arrangement.
Step 2: draw the room’s moving boundaries
Open the room door through its normal range and mark the arc it occupies. Do the same for nearby cabinet doors and drawers. Include folding doors and recliner movement if they share the proposed area. A closed-door photograph can hide the most important obstruction in the room.
Now walk the routes used to reach the exit, another room and frequently used storage. Carry something typical, such as a laundry basket, and notice where you naturally turn. Preserve the space you actually need rather than choosing an arbitrary narrow passage because it looks possible on paper.
A pen should not compromise an exit or require household members to climb over it as their normal route. If a proposed position creates that problem, move the plan to another area. Changing the enclosure’s shape is worth considering only when the manufacturer permits the new configuration.
Step 3: read the dimensions as separate quantities
A listing may state panel width, panel height, total perimeter, enclosed area or an assembled footprint. These are not interchangeable. Height describes the vertical barrier. Perimeter describes the distance around it. Neither alone tells you how far the assembled pen extends into your room.
Look for a diagram or instructions showing the layout you intend to use. Note whether the dimensions include feet, stabilizers, connectors or other projections. When that information is missing, treat your sketch as provisional until the manufacturer confirms the outside measurements.
Do not borrow dimensions from a similar-looking model. A door version, extension set or different panel count can change the layout. Save the exact model name and its instructions with your notes so you can compare the item you receive with the space you measured.
Step 4: calculate a possible shape, then verify it
Here is a geometry example, not a product specification. Imagine eight panels, each exactly 24 inches wide, arranged with two panels along each side of a square. Ignoring connectors and frame thickness, the square measures 48 by 48 inches and encloses 16 square feet.
Arrange those same idealized panels as three along each long side and one along each short side. The rectangle becomes 72 by 24 inches and encloses 12 square feet. Its perimeter is unchanged, yet it occupies a different shape and provides less area than the square.
This is why a perimeter figure cannot answer whether a pen fits beside your sofa. Real products also have joints and outside projections. Use the calculation to understand the layout, then use the approved assembled dimensions to draw the final outline. Do not assume every pen permits both arrangements.
Step 5: include the pen entrance and your reach
For a model with an opening door, add the door’s operating space to your plan. Confirm its opening direction and whether furniture would prevent you from using the latch comfortably. Also consider whether you can bring a bowl or bedding through the opening without awkwardly twisting around the frame.
A model without a walk-through door deserves a separate access assessment. Do not assume stepping over the side will be convenient or suitable for everyone in the household. Consider how you would safely reach your dog and handle cleaning before deciding that the lower price or simpler frame is worthwhile.
Map access from the outside as well as space inside. If you cannot reach the far corner without leaning heavily on a panel, the layout may be impractical. An enclosure that requires moving a sofa for every small spill is unlikely to remain easy to maintain.
Step 6: map what will occupy the interior
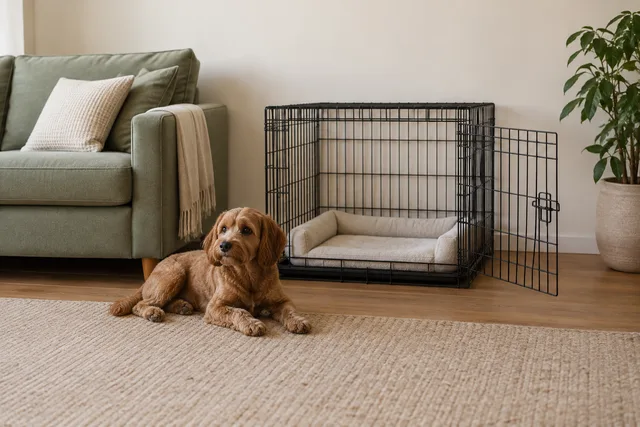
Place paper outlines for the intended bed and water bowl within the proposed boundary. If a crate will stand inside, include its full external footprint and door movement. If you plan a connected crate arrangement instead, confirm compatibility and attachment instructions for those exact products.
Subtracting objects from the floor plan helps you see the remaining clear area, but the resulting number is not a welfare standard. Look at the arrangement itself: can your dog move between the resting place and water without squeezing around an obstruction, and does the bed fit without folding against a panel?
Avoid buying an enclosure based only on a photograph showing an empty interior. Your setup will contain everyday items. Measuring those objects first makes the plan more realistic and may reveal that a different room is more suitable than the spot you initially preferred.
Step 7: check the surroundings at dog level
Look beyond the tape boundary. The American Kennel Club’s puppy-proofing guidance highlights reachable electrical cords and other household hazards. Check cords, curtain pulls, small objects and items on nearby low furniture before settling on a location. A barrier does not make everything just outside it inaccessible.
Mark areas that should be excluded from the plan rather than trying to solve every hazard by placing a panel directly against it. Keep the setup away from objects that create an obvious climbing opportunity, and reassess any gap between the pen and neighboring furniture.
Room measurements cannot determine whether your dog will climb, push, chew or become distressed in an enclosure. A plan that fits geometrically still needs an appropriate introduction and observation. If your dog repeatedly attempts escape, revisit the containment arrangement instead of treating another inch of floor clearance as the solution.
Step 8: rehearse the layout before purchasing
Mark the proposed outside boundary and the entrance space on the floor. With your dog elsewhere, open the surrounding doors, walk the main routes and simulate placing bedding and water inside. Ask other regular users of the room to try the arrangement too.
A useful rehearsal includes the less convenient tasks: reaching a dropped item, carrying supplies and cleaning the far side. If a household member uses a mobility aid, test the real route with that aid rather than assuming a drawn passage is adequate. Keep the exit clear throughout.
Make a note of every collision or awkward movement. Revise the sketch and repeat only the affected parts of the rehearsal. It is easier to discover that a door needs more space with temporary markings than after assembling a large enclosure and reorganizing the room around it.
A worked room-planning example
Suppose your clear corner measures 80 inches along one side and 68 along the other. You are considering the idealized 48-inch square from the earlier example. Placing it against one edge leaves 32 inches along the longer dimension and 20 along the shorter one, before allowing for hardware or required separation.
Those leftover widths do not automatically become acceptable walkways. Decide which side needs regular access, where the pen entrance faces and whether a nearby room door crosses either strip. A fit on paper can fail as soon as the door is opened.
Now imagine that the bed and bowl leave an inconvenient pinch point inside. Rotating the interior arrangement may help, but shrinking the pen simply to widen an outside passage trades one problem for another. Compare a different location before assuming the first corner has to work.
Record a short measurement worksheet
Keep one note containing the location, clear length and width, nearby door swings, exact model, approved assembled shape and outside dimensions. Add entrance direction, interior object sizes and the date you measured. Photograph the temporary outline so the numbers remain connected to a recognizable location.
Separate confirmed information from open questions. For example, write that a stabilizer projection is unconfirmed instead of quietly treating it as zero. Resolve that detail before ordering when the available clearance is tight. A missing number should remain visible in the decision.
Keep the sketch after purchase. It will help when you move furniture, replace the bed inside the pen or consider an extension. A change that seems small can alter the useful space or block the entrance, so do not assume the original arrangement remains valid indefinitely.
Check the assembled result before use
Follow the supplied assembly instructions and measure the actual outside footprint once the pen is in place. Confirm that all required connections and stabilizers are fitted. Room fit is not a reason to omit a component or improvise an attachment that the manufacturer has not approved.
Check the floor for rocking, sliding or uneven support before introducing your dog. Reopen nearby doors and verify the entry route with the real structure present. Temporary tape cannot show how a projecting latch feels when you walk past it.
MidWest’s referenced exercise-pen manual warns about escape attempts and entanglement and includes specific supervision guidance. Read the equivalent warnings for your own model. Keep early introductions supervised, and remember that a well-measured enclosure does not replace exercise, interaction or regular care.
Frequently asked questions
Can I calculate the footprint from panel count? Only provisionally. You also need panel width, an allowed configuration and allowance for the actual hardware. Confirm the outside assembled dimensions instead of treating a simple geometry calculation as an exact product measurement.
Does a taller pen need more floor space? Height alone does not determine the footprint. Different heights may share a layout, but check the exact model because feet and stabilizers can differ. Containment suitability is a separate question from whether the room has enough clear floor.
Can a room wall replace one side? Do not assume so. Use only the configurations and attachments approved for the chosen model. An improvised open-ended arrangement can create gaps or unstable panels even if its outline seems convenient.
What if the pen only just fits? Recheck projections, entry space and moving doors. A tight numerical fit is a reason to verify more carefully, not to force the frame into place. Consider another location if routine access remains awkward.
Sources and related guides
The measurement calculations and room examples above are original planning examples. Assembly and use cautions are informed by MidWest’s exercise-pen instructions. The surroundings check draws on AKC puppy-proofing guidance. Sources checked September 19, 2026.
For one specific enclosure format, read the MidWest 552-30 review. Compare a crate location plan if you are arranging a separate resting area. For a barrier across an opening, use the doorway measurement guide.