How to Clean a Fabric Dog Leash Without Guessing Its Care Instructions
Identify the leash, check its condition, follow the correct wash directions and allow complete drying before returning it to the walking kit.
Jump to a section
The short answer: identify, inspect, clean, dry
Clean a fabric dog leash according to its own care label: identify the model, check for damage, use the permitted washing method and let the whole leash dry before storing it. For a hand-wash-only model, a washing machine is not an equivalent shortcut. Dirt removal also does not repair worn webbing or a faulty clip.
This guide is for ordinary fabric walking leashes whose maker provides washable-care instructions. Leather, coated straps, retractable mechanisms and electronic accessories need their own directions. A similar color or fabric appearance does not make two products identical to care for.
The steps below organize the task without inventing a universal detergent dose, soaking time or drying deadline. They are a household workflow, not a laboratory cleaning test or a method for certifying that an old leash is safe.
1. Find the model-specific instructions first
Look at the sewn label, original packaging or saved order information for the model name. Then open the manufacturer’s care section. Save that page with your household notes so the next person washing the leash does not need to reconstruct the search.
For example, Ruffwear’s Front Range Leash page specifies hand washing with mild detergent and air drying. Its Front Range Flex page gives those same three instructions, but describes a different construction. These are examples of checking actual care directions, not permission to wash every leash that way.
If the label and a current webpage disagree, compare the version you own before choosing a method. A changed model can retain a familiar name. When you cannot identify it confidently, ask the manufacturer rather than borrowing directions from an unrelated product.
2. Choose a time when the leash can stay out of use
Plan the cleaning around the next walk instead of starting just before leaving. You need time for the strap, folded seams and any padded handle to dry. A fixed number of hours would be misleading because construction and room conditions differ.
If another suitable leash is available, inspect it and put it with the walking kit before taking the dirty one away. That prevents someone from discovering a wet leash at the door and improvising with an unsuitable item.
Keep the dog away from the washing area and work with the leash detached. Remove only accessories designed to be removed, such as a detachable bag dispenser or light, following their own instructions. Put small parts somewhere they will not disappear into the sink or be mistaken for waste.
3. Inspect before hiding the surface under water
Lay the leash out in good light and look along both sides. Pay attention to the handle, stitched joints and the area next to the clip. Visible cuts, opened stitching or a distorted fitting deserve assessment before washing, rather than being dismissed as part of the dirty appearance.
Check the clip’s normal opening and closing action without attaching it to the dog. If it sticks or does not close as designed, take the leash out of the walking rotation. Do not assume a wash will correct the problem, and do not force or modify the mechanism.
Manufacturer inspection guidance is especially important for mechanisms. Flexi’s instructions call for checking its leash and collar before use. That is a model-specific safety resource; this fabric-leash workflow is not a substitute for its retractable-leash directions.
4. Separate loose dirt from washing
Remove loose hair and easily lifted dry debris before using water. Work over a surface you can wipe afterward, gathering material for disposal rather than pushing it toward the drain. This makes it easier to see which areas actually need attention.
Use a gentle touch. Picking at a seam with a sharp object or pulling hard on a snag can make a damaged area harder to assess. If debris is caught in a component you cannot reach without dismantling it, consult the product instructions before proceeding.
Keep a dirty accessory separate from the leash until you have checked its care requirements. A battery light, dispenser and fabric strap may all arrive home muddy, but that does not make a shared soak appropriate for the entire collection.
5. Set up a small, controlled washing area
Use a clean basin or sink with enough room to move the leash without knotting it. Place a towel nearby for the surrounding surface and keep the clip from swinging against other objects. Move unrelated household items away so they do not become part of the task.
Select the cleaning product specified or permitted by the manufacturer. When the instruction says mild detergent, do not turn that into an improvised mixture of cleaners. Follow the detergent’s directions as well, and seek clarification if its suitability for the leash is uncertain.
Do not add stain removers, bleach, solvents or fragranced treatments merely because a stain looks stubborn. The goal is compatible cleaning of the complete item, including its trim and hardware. This article does not provide a chemical recipe for unknown fabric, dyes or coatings.
6. Hand wash only when that method is permitted
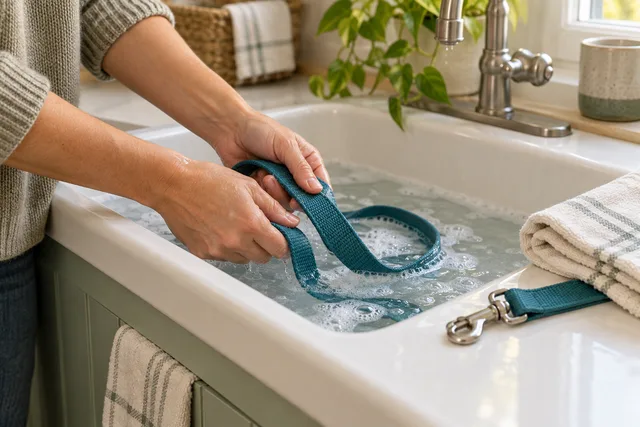
Follow the care label for water conditions and any additional restrictions. For a hand-washable leash, work through the strap in manageable sections so you can see what you have cleaned. Give attention to the handle and folded areas without aggressively scrubbing the stitching.
A useful sequence is to start at one end and continue to the other, turning the webbing over as you go. This is an organizational technique, not a required wash duration. Stop if you discover damage that was hidden by dirt.
Do not use the dog, a door handle or a heavy weight to hold the leash under tension while cleaning. Keep the task on the work surface. Likewise, do not repeatedly stretch the strap to judge its remaining strength: a household wash is not a load test.
7. Rinse and reassess the result
Rinse as directed until you have removed the cleaning product, checking folds where it can be harder to see the surface. Keep the leash arranged so that you can inspect the whole length rather than leaving it bundled in the bottom of the basin.
After rinsing, look again at the areas that originally concerned you. A persistent mark may need manufacturer advice rather than a stronger treatment. Distinguish an appearance issue from a structural concern; removing a stain does not establish that damaged fibers have recovered.
If an odor or residue remains after the permitted process, avoid cycling through household remedies. Record what you used and ask for product-specific guidance. If the concern involves unusual contamination requiring disinfection, this ordinary cleaning workflow is not a verified disinfection procedure.
8. Dry the complete leash before storage
Where the manufacturer calls for air drying, arrange the leash so its surfaces are exposed to air and the handle is not folded into a damp bundle. Choose a place where it will not obstruct a walkway or be accessible for chewing.
Do not substitute a tumble dryer, heater or hair dryer for air drying unless the product instructions explicitly allow that method. Drying faster is not useful if it introduces an unverified treatment. Follow any location or temperature restrictions given by the maker.
Check thicker areas as well as the easy-to-touch middle of the strap before returning it to enclosed storage. There is no universal overnight guarantee. If it is still damp when needed, leave it drying and use the suitable alternative you prepared earlier.
9. Return only usable equipment to the walking kit
Once dry, repeat the visual and functional checks. Look at the seams you noted earlier and confirm that the clip operates as intended. Reattach removable accessories according to their instructions, checking that they do not obstruct the leash attachment.
If you found damage, keep the item clearly separate from ready-to-use gear. A note saying do not use is more useful than leaving it on the usual hook and hoping everyone remembers a conversation. Ask the maker about assessment or replacement; this guide does not recommend home repairs to load-bearing parts.
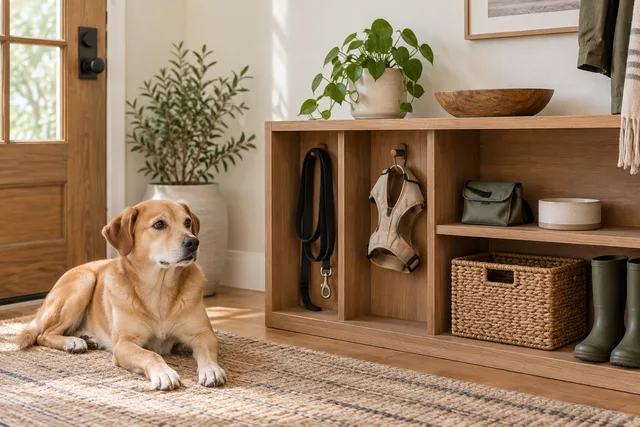
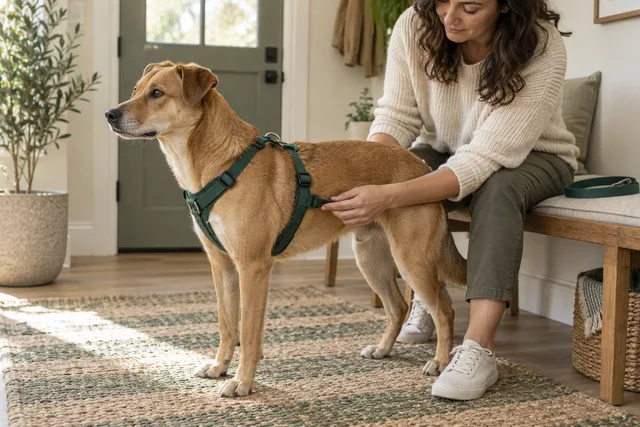
Our walking-supplies organization guide can help you give clean, drying and retired equipment distinct places. Keep this cleaning step separate from checking the dog’s harness fit before leaving. Both tasks matter, and completing one does not complete the other.
A worked example for a shared household
Imagine two adults share a hand-washable fixed leash. After a muddy afternoon, the first person checks the care page, inspects the strap and places a suitable spare at the door. They remove the detachable dispenser and set it aside for separate cleaning.
They wash and rinse the leash according to its instructions, then hang it in the agreed drying place. A short note records that it is still drying. The second person can find the spare for the evening walk without making assumptions about whether the original is ready.
When the original is dry, someone checks it again and returns it to its normal place. The example’s value is the handoff between people. It does not prescribe a cleaning frequency, promise an overnight drying time or require buying a new storage system.
Common shortcuts to avoid
Do not assume a mesh laundry bag changes the care label. It may contain an item during washing, but it does not establish that machine agitation, detergent or a selected cycle is approved for the leash. A washing machine should enter the process only when its use is specifically permitted.
Do not trim, melt or glue damaged fibers to make the strap look tidy before deciding whether it should remain in use. Cosmetic improvement is not evidence of restored strength. Keep photographs of the concern if you need to explain it to the manufacturer.
Finally, avoid cleaning every piece of walking equipment in one batch without checking each item. Separate directions may apply to a padded harness, leather collar, retractable housing and simple fabric leash, even when they are all sold by the same company.
Frequently asked questions
How often should I wash a fabric leash? Use its care guidance and actual condition rather than an invented weekly rule. Inspect it before use and plan cleaning when needed, allowing enough drying time.
Can I use dish soap? Check the leash maker’s instructions and the proposed product. The phrase mild detergent does not identify every household formula as suitable. This guide does not endorse a particular substitute.
Can I put a retractable leash in the basin? Do not apply these fabric-strap steps to a retractable unit. Its mechanism and housing require the manufacturer’s separate care directions.
Does cleaning make a frayed leash usable again? No. Washing is not repair or strength certification. Remove questionable equipment from use and seek model-specific advice.
What if the leash is still wet before the next walk? Continue drying it as directed and use another appropriate, inspected leash. Planning that alternative before washing prevents a rushed decision at the door.
Keep the instructions with the equipment
Save the model name and manufacturer care link where the household keeps walking information. Add a brief note if an accessory must be removed or if a particular component needs separate care. Keep the note specific enough to be useful without replacing the original instructions.
The sources linked above establish examples of published care and inspection directions. The room setup, sequencing and household handoff are practical editorial suggestions. No particular washing process has been physically tested for this article, and its cover is an illustrative cleaning scene.
For related reading, see our harness-fit checklist and Front Range Leash assessment. Use them for their separate questions: fit and product selection. Neither changes the care label of the equipment you already own.