How to Clean and Dry Dog Boots After a Walk
Find the correct care method, keep a boot set organized, check interiors for dryness and record any condition issues before storage.
Jump to a section
Direct answer: use the exact care instructions, then verify dryness
Clean and dry dog boots by identifying the pair’s care instructions, removing loose debris, using the permitted wash method, and allowing the interiors as well as the outside to dry before storage. Keep the set together and inspect each boot before its next use. Do not assume that every fabric upper or rubber sole can tolerate the same laundry cycle.
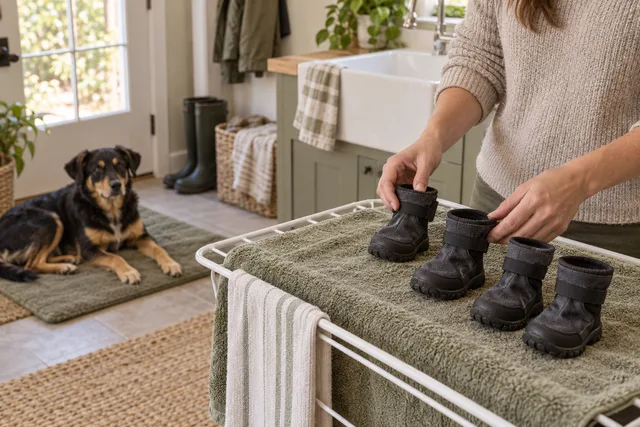
This guide is an after-walk equipment routine for reusable dog footwear. It covers sorting, care-label decisions, handling a wet set and deciding whether it is ready to put away. It does not rank boots, choose a paw size, promise restored grip or give a treatment for sore paws. The cover is an illustrative household scene, not a photograph of a tested product.
1. Identify what you actually own
Start with the exact item rather than the broad word boots. Find the brand, product name and any version information on the packaging, order record or attached label. A reusable textile shoe, a coated winter boot and a disposable paw cover are different items. A method permitted for one is not evidence that it works for another.
Set aside liners or socks as separate pieces if they are designed to be removed. Their instructions may differ from the outer footwear. Do not detach a sewn lining or cut a label to make cleaning easier. If you cannot identify the item, postpone a full wash and recover its instructions first. A useful question to the manufacturer is whether its current care page applies to your older version.
2. Record the permitted wash method before starting
Write down the actual temperature, detergent guidance, machine setting and drying method that apply to the item. Read the complete care section; a photograph of someone rinsing footwear does not establish that soaking or a machine cycle is allowed. Treat retailer summaries as a prompt to check the manufacturer’s directions, especially when they omit drying restrictions.
For a verified example, Ruffwear’s gear-care guide describes removing its boots from their bag, wiping away loose dirt, securing closures, machine washing cold on a gentle cycle with mild detergent, and air drying. This is that manufacturer’s published routine, not a universal instruction for every dog boot. Keep your own item’s label alongside the notes.
3. Resolve missing or conflicting instructions
Do not merge two different directions into a homemade compromise. If one page says machine wash and the packaging says hand wash, save both and identify the model and purchase version before proceeding. Send the manufacturer a concise question with those details if clarification is needed. Avoid experimenting with hotter water or a longer cycle to make uncertain advice seem more thorough.
A second example shows why exact categories matter: RIFRUF’s care page lists machine washing and air drying for dog shoes, while other gear on the page has hand-washing instructions. Read the relevant entry rather than copying the first instruction you see. Neither example establishes a disinfecting method, a fixed drying time or permission to use a tumble dryer on an unrelated item.
4. Make a small sorting station
Choose a work surface where loose grit can be contained and where wet footwear will not be mixed with clean gear. Gather the manufacturer’s instructions, a clean cloth, the permitted cleaning supplies and somewhere to dry the set. You do not need a collection of specialty products merely to follow a basic label.
Count the boots before cleaning. If the set uses different front and rear sizes, preserve that distinction in a simple written note or separate groups on the work surface. Record existing marks with a photograph when helpful, without putting a permanent ink label on the footwear. Keeping the set identifiable prevents a cleaning session from turning into a search for a missing boot just before the next walk.
5. Remove loose debris and inspect what remains
With the boots off the dog, look through each opening and around the sole and closure. Remove loose debris in the way the instructions permit. Work on one boot at a time so you can distinguish superficial dirt from a torn seam or a separated component. Do not dig at the material with a sharp object to extract a stubborn particle.
If a boot has a damaged closure, loose sole or conspicuous tear, place it apart from the ready-to-use set. Washing cannot establish that a damaged item is fit for use. Take a clear photograph for a support or replacement inquiry. For unfamiliar sticky residue, identify the material and seek an appropriate cleaning instruction before adding solvent, bleach or an improvised chemical mixture.
6. Prepare closures and removable pieces correctly
Check whether the instructions tell you to secure straps before washing. Where they do, follow that direction instead of leaving fasteners loose simply because it feels easier. Look for debris in the closure during your initial inspection; do not claim that stronger pulling or aggressive scraping will restore it. A closure that remains unreliable needs a separate decision.
Keep removable socks or liners with their own care note. If their permitted method differs, wash them separately according to that method. Do not assume that a drying rule for the outer boot also covers an absorbent insert. Make a count of both groups before starting, particularly if your household has multiple dogs or several similar sets. Reassemble only the components intended for the same footwear.
7. Carry out the permitted wash without extra treatments
Use the method you recorded, including its temperature and any cycle or detergent limitations. If hand washing is specified, follow those directions; if a machine method is specified, use the stated settings. Do not increase the dose of a cleaning product or add another treatment because the boots were unusually muddy. More cleaning steps are not automatically better care.
Keep the instructions available while you work. Where a rinse is required, include it rather than stopping as soon as visible dirt disappears. If the result still has unfamiliar residue, stop and reassess instead of repeatedly escalating the process. This routine is ordinary cleaning, not sterilization. A situation that requires infection-control advice needs a relevant professional or manufacturer protocol, not a household laundry guess.
8. Arrange air drying so you can check the whole boot
When air drying is specified, choose a place where the boots can remain undisturbed and where you can later inspect their interiors. Follow any model-specific guidance about openings, orientation or removable pieces. Keep the drying area out of the dog’s reach so the footwear does not become a chewing object. Avoid using an unapproved heater or dryer to hurry the job.
There is no useful universal promise that four boots will dry in a particular number of hours. Their materials, retained water and the room conditions differ. Arrange your schedule around an actual check rather than a timer alone. If a boot has a deep interior that you cannot assess easily, allow more time and consult its maker about the appropriate drying arrangement.
9. Check readiness before closing the storage bag
Inspect each boot individually before you put the set away. Look and feel inside the opening as well as around the outside, using clean hands. A dry-looking sole does not tell you whether the interior is still damp. If any piece remains wet, keep that piece in the drying stage and postpone packing the set.
Repeat the condition check now that surface dirt no longer obscures the material. Compare closures, seams and soles with your initial notes. A persistent odor or stain is a reason to investigate the care process and condition; it is not a diagnosis and does not justify a chemical recipe. Do not declare a set clean and ready merely because it smells strongly of a new detergent.
10. Put away the set with a short care record
Return the dry pieces to storage according to their instructions, keeping the matched sizes and liners identifiable. Check the storage bag too: do not place cleaned boots back into an obviously dirty or wet container. If that bag needs cleaning, find its own care directions rather than treating it as part of the boot’s wash permission.
A short record can include the model, date, method used, pieces counted and any damage that still needs attention. Mark the set ready only after the drying and condition checks are complete. Store unresolved items separately with a clear note so another household member does not mistake them for the next walk’s equipment. The record is a practical household tool, not proof of a longer product lifespan.
If you need the boots before they are dry
Do not make the deadline dictate a more aggressive drying method. If the footwear is still wet when the next outing approaches, reconsider the outing arrangements or use another suitable, ready set if you already have one. Buying a duplicate is not a required part of this routine. The important decision is whether the equipment is actually ready.
Build drying time into your usual return-home routine when practical: identify the set, clean it by its instructions, put it in its drying place and schedule a later check. If a household member takes over, leave the care note and remaining task visible. A handover such as interiors still damp, check again before packing is more useful than saying the boots are done.
A reusable cleaning checklist
Use this sequence as a record of decisions, not a substitute for the label: identify the exact item; find its permitted method; count boots and removable pieces; inspect and remove loose debris; prepare closures; wash as directed; dry by the approved method; verify each interior; inspect condition again; store the complete dry set.
Leave a separate line for uncertainty. Examples include care label missing, version not confirmed, closure still unreliable or unfamiliar residue remains. Each note should lead to a concrete next action, such as finding the purchase record or asking the manufacturer about that version. Recording an unresolved point is better than quietly replacing it with an assumption, especially when multiple people care for the same dog.
Frequently asked questions
Can all dog boots go in the washing machine? No. Follow the exact item’s instructions. The manufacturer examples linked above permit machine washing for their specified footwear, but that does not establish permission for every design or older version. When the label and website disagree, resolve the model and version before washing.
Should I hand wash every pair to be safe? Do not replace the documented method with a universal rule. Hand washing can still introduce unapproved soaking, detergent or temperature. Recover the actual care directions and use them rather than assuming that a method is suitable because it sounds gentle.
Can I put wet boots straight into their bag? Complete the drying check first. Include interiors and removable components, not just the soles. If a piece remains damp, leave it in the appropriate drying arrangement and mark the storage step unfinished.
Does cleaning restore a damaged boot’s grip or closure? This guide makes no restoration claim. Treat damaged or unreliable components as a separate condition issue and consult the maker about replacement or permitted repair. A clean appearance does not demonstrate performance.
What if the dog seems uncomfortable wearing the cleaned boots? Remove them and reassess the equipment rather than tightening them automatically. This cleaning routine does not determine fit or explain discomfort. Seek veterinary advice for a concern about the dog, and use the manufacturer’s fitting guidance for the footwear.
Sources and related reading
The two linked manufacturer pages were checked for care instructions. They support the limited examples described above; the sorting notes, record format and decision sequence are household organization suggestions. No boots were independently washed or performance tested for this guide, and no product ratings, purchase links or medical claims are included.
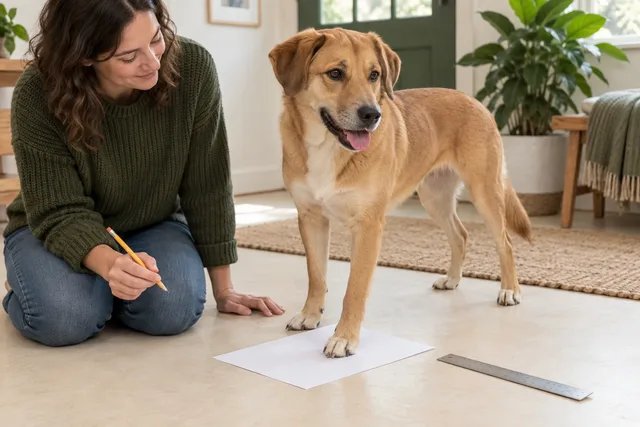
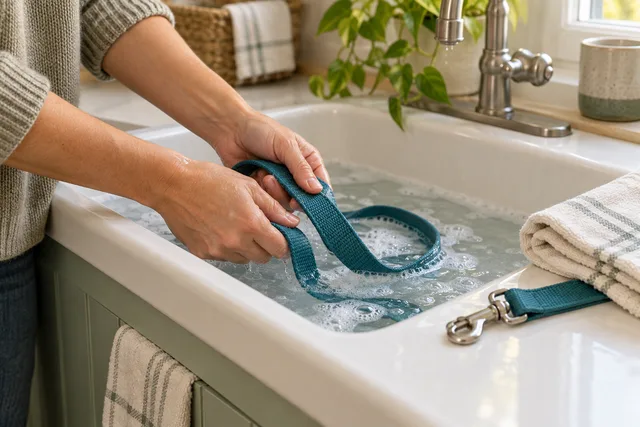
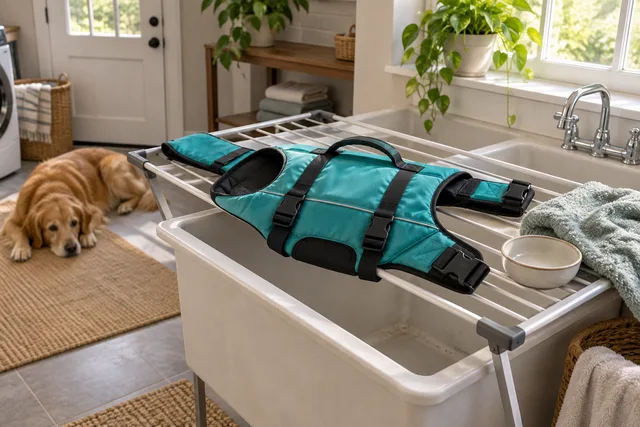
For a different task, see our guide to measuring dog paws for boots. For other equipment routines, read cleaning a fabric dog leash and washing and storing a dog life jacket. Each item requires its own instructions; do not transfer a method between them.